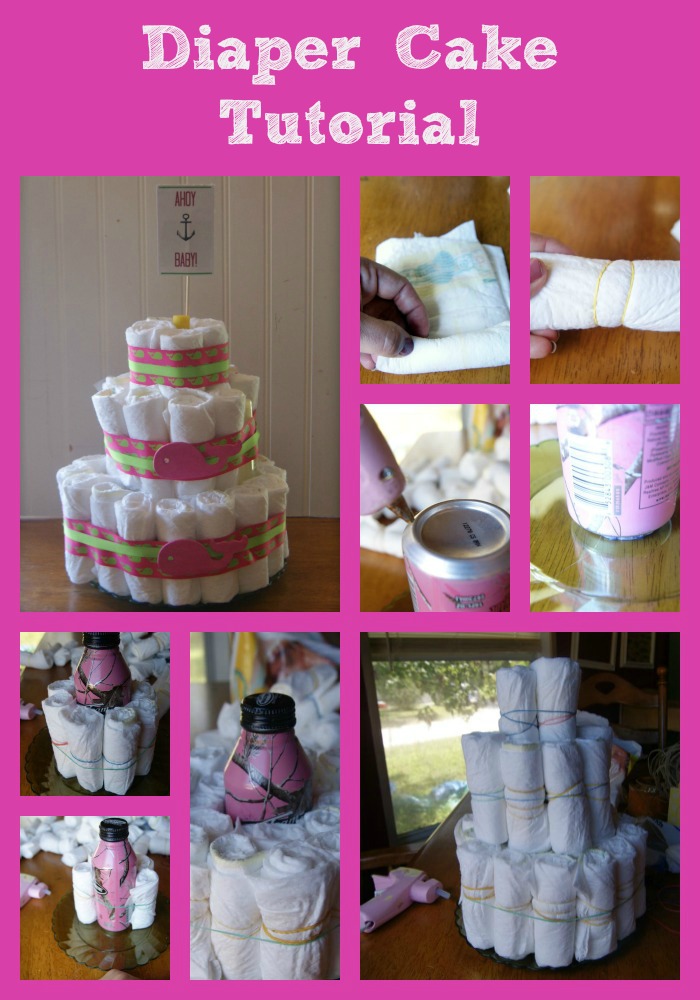
Diaper Cake Tutorial - Baby Shower
Follow our diaper cake tutorial if you are hosting or attending a baby shower. This is a great DIY gift for the new mom-to-be. Not only can you make it for really cheap, but it adds a personal touch to your gift. I love the fact that you can customize the diaper cake to the baby shower theme.
Diaper Cake Tutorial
A beautiful, personalized diaper cake can be still be frugal. You don’t have to order one from a fancy gift shop either, they are super simple to make yourself. You can match it to the shower theme, nursery theme, or just something that mom and dad have an interest in. A favorite baseball team, monkey’s, a pretty pink princess cake- the possibilities are endless! They can be as simple or as elaborate as you like. What a sweet way to celebrate a new little bundle of joy! This diaper cake costs less than $20 and that includes the diapers as well! Follow these step-by-step directions along with photos so that you can easily make your own.
Diaper Cake Tutorial Supplies:
- 1 pack of size 1 diapers
- 1 ½” patterned ribbon
- 3/8" ribbon
- Bag of assorted rubber bands
- 2 unfinished wood shapes
- Johnson & Johnson
Travel of baby care items
- 4 pack of plastic plates
- Hot glue gun- you could also use stick pins
- Printer
- Something for your center support, a paper towel holder, baby bottle, or some similar tall cylinder object. Slightly shorter than 2 rolled diaper stacked.
Diaper Cake Tutorial Directions:
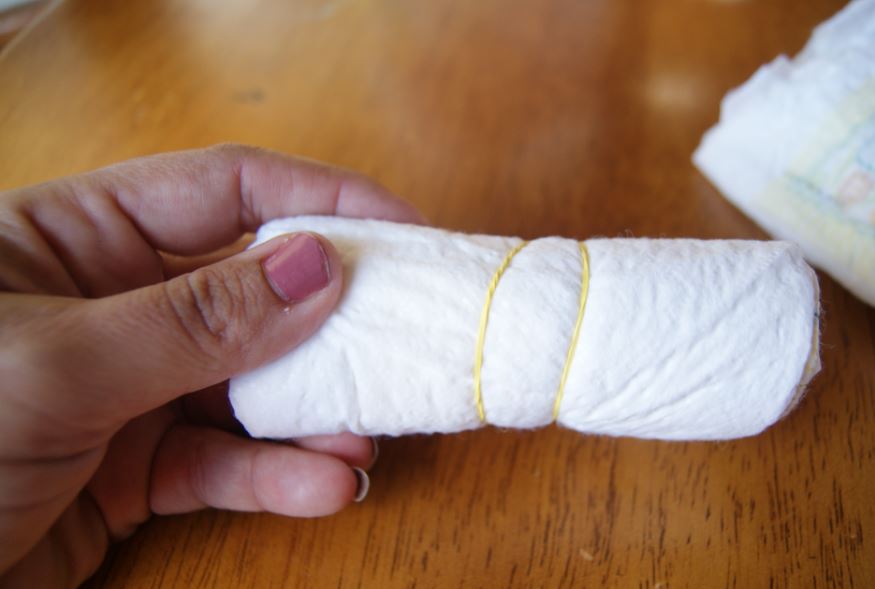
Begin by gathering your supplies.To create the “cake” lay your diaper print side up on the table, roll diaper tightly and secure with a small or medium rubber band. Repeat with the entire pack of diapers. Try to keep rubber bands right in the middle of the diaper, this will make it much easier when finishing off cake.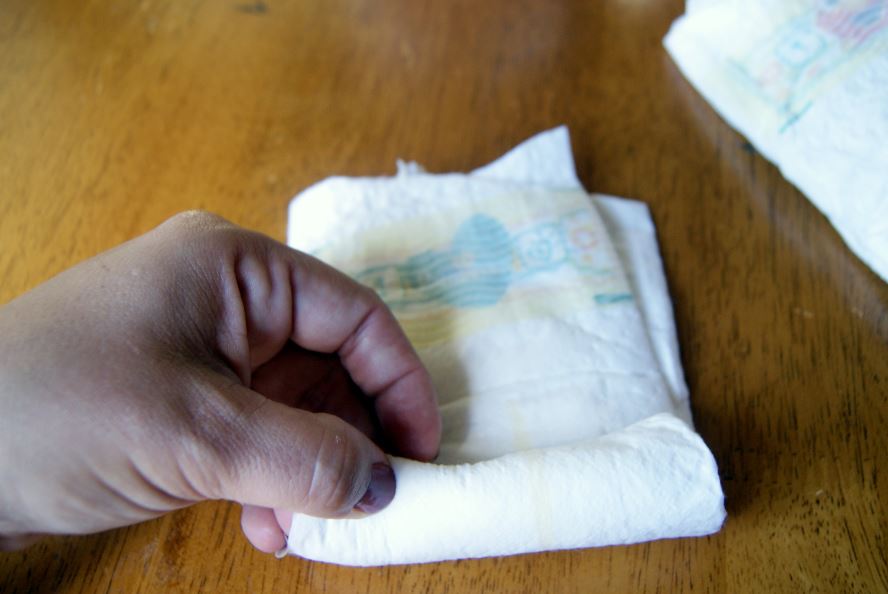
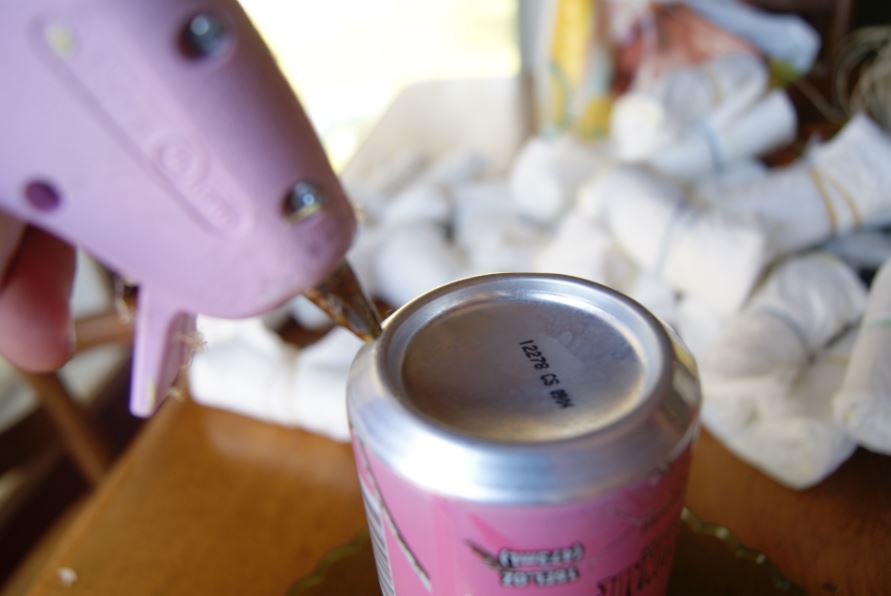
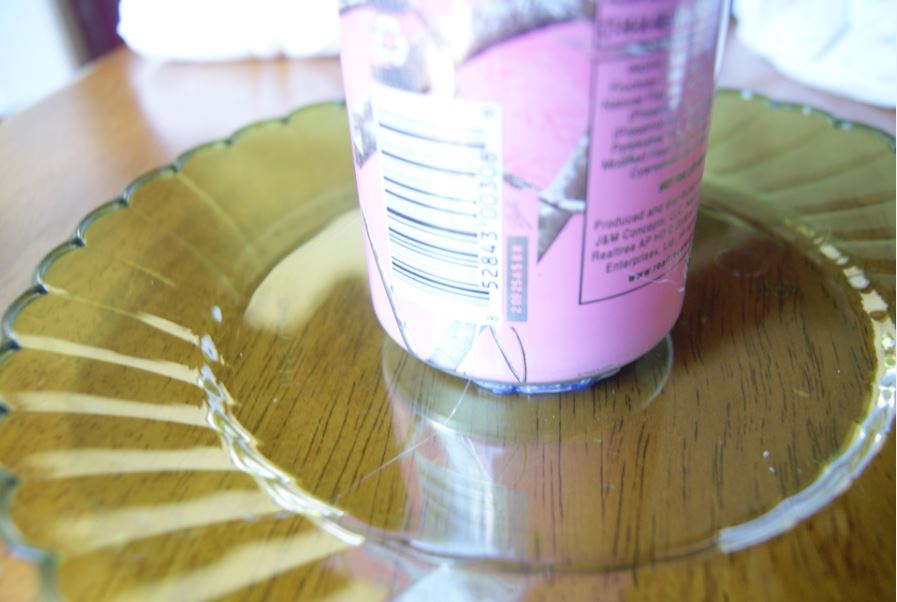
 Choose a base for your cake, a plastic plate, a piece of cardboard covered in wrapping paper or fabric, or a cardboard cake base from the bakery. To create a center support for your cake structure- choose a support such as- a paper towel tube, a baby bottle, or other similar cylinder shape. Hot glue the support to your base, allow to dry.
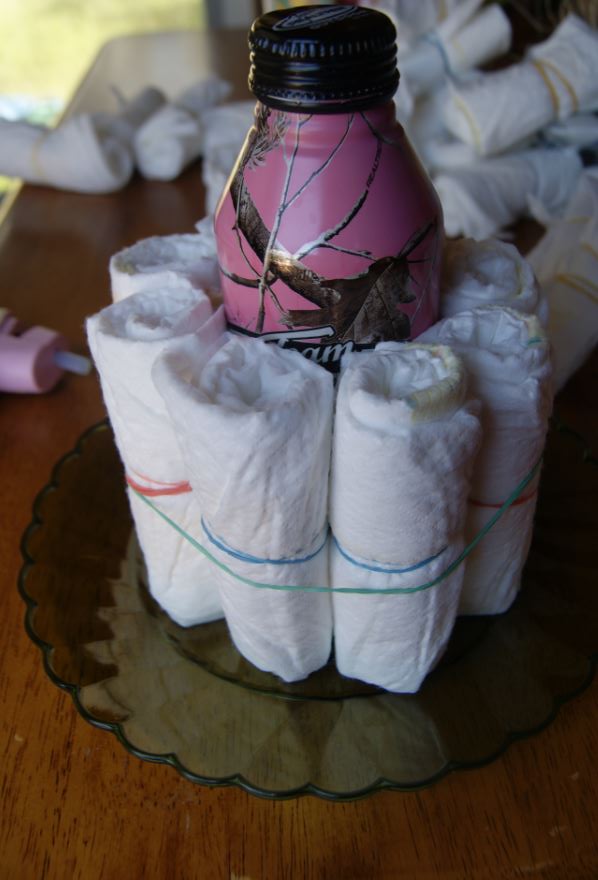
 Place a single ring of rolled diapers, smooth side out, around your center support. Secure with a large rubber band. Add a second layer, and wrap with another large rubber band. I used 25 diapers on my base layer. On top of your first layer wrap a single layer around your center. I used 10 diapers for my middle layer. Secure with a large rubber band. My center piece did not reach all the way to the top of the second layer, which is what I wanted, I stuck 5 rolled diapers on the top for my final layer and again wrapped with a large rubber band. I then dropped this bundle inside the middle layer.
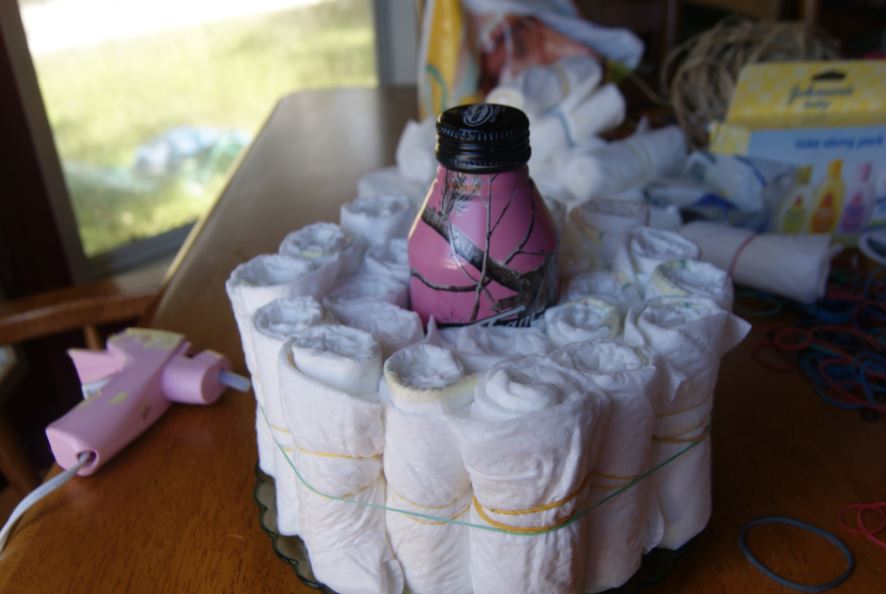 Place 1 bottle in the center of the top, and a few more randomly around cake. (I place 2 directly in the back of cake on 2 bottom layers to hot glue my ribbon to, gluing directly on diapers will make them unusable when the recipient dismantles the cake to use diapers) I used the randomly placed bottles to secure ribbon with another bead of hot glue- the hot glue can be pulled off these without destroying.
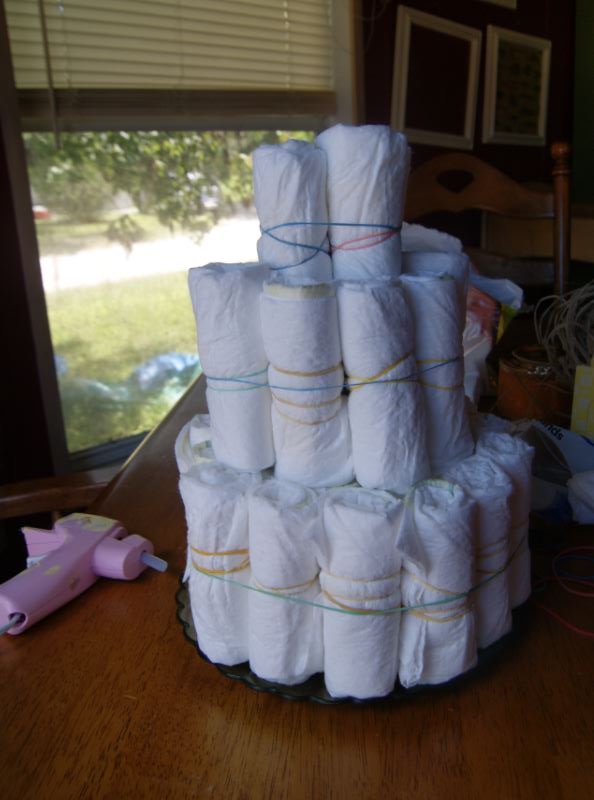
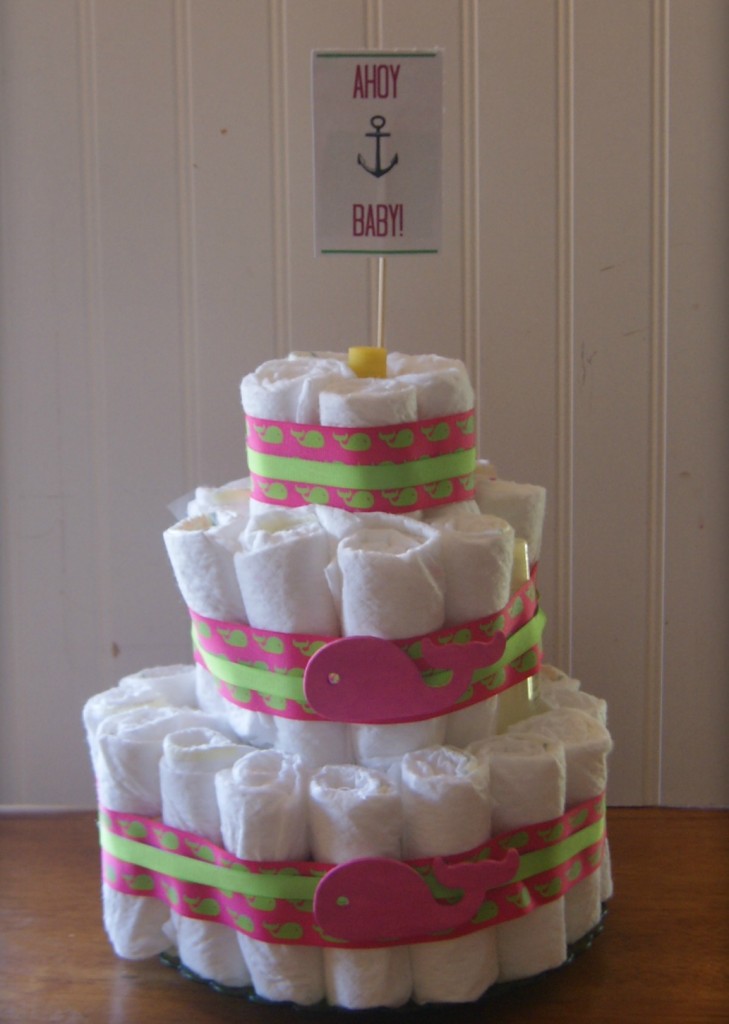 Wrap wider ribbon around each layer taking care to cover all rubber bands, secure in back with a bead of hot glue, overlapping ribbon about ½ “ Hot glue narrow ribbon over the center of each layer of wide ribbon.
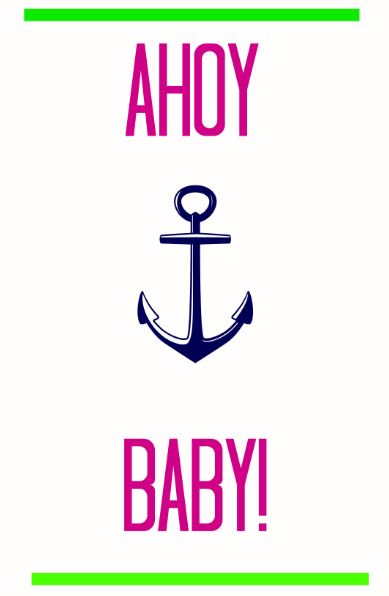
 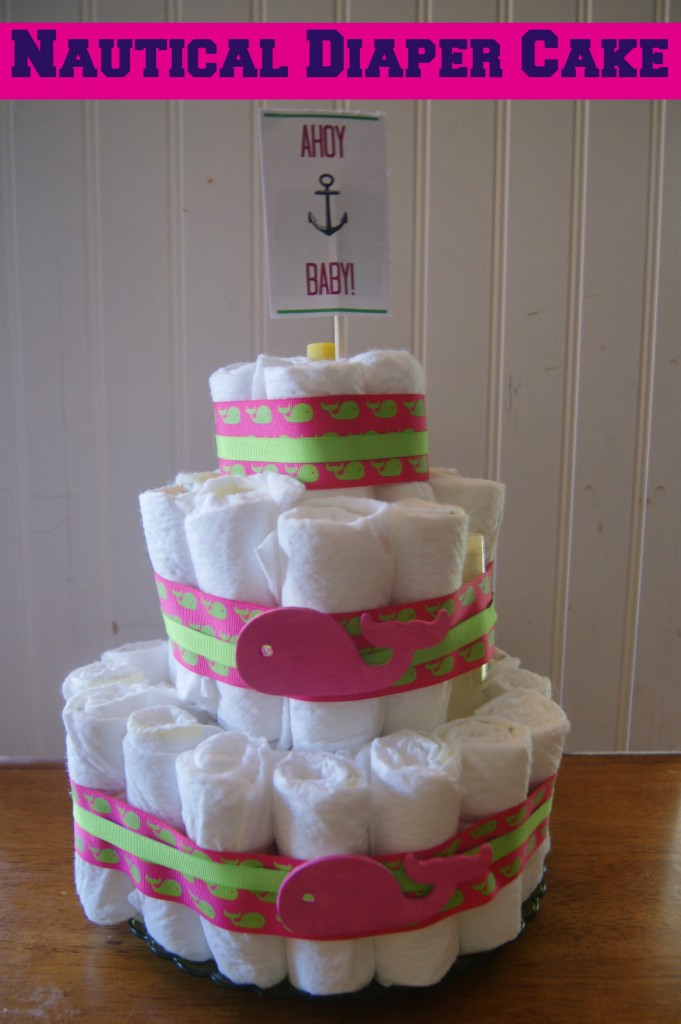 I painted the unfinished wood whales with some acrylic craft paint I had on hand in a complimentary pink. Print the topper on cardstock and attach with tape to a skewer, small dowel, or pencil and push through the top. You can also print out these diaper cake toppers if you choose to do a Nautical Diaper Cake:

 You can also print our Baby Shower Planning Checklist or our Baby Shower Gift Tracker to help stay organized throughout the planning process
Baby Shower Ideas:
Baby Shower GamesBaby Shower Diaper CakesBaby Shower FoodBaby Shower DecorationsBaby Shower Invitations You can also check out these sites for some baby shower favors, baby shower invitations, baby shower gift ideas! Make sure you checkout the Frugal Fanatic Facebook page and follow us on Pinterest for DIY projects, recipes, money saving tips and more.
